
Dovecot is an open-source email server with native support for the IMAP and POP3 protocols. In addition to Dovecot’s built-in functionality, it is extensible through numerous plugins.
This article explains how to install and configure a Dovecot server and how to deploy a Dovecot plugin.
How To Install Dovecot on Ubuntu 20.04
Installing Dovecot onto Ubuntu is a simple process. In fact, the initial installation can be completed using a single command:
Sudo apt install dovecot-imapd dovecot-pop3d
This command installs Dovecot with the POP3 and IMAP protocols, which are common to all mail servers. Figure 1 shows what the console screen looks like at the completion of the installation process.
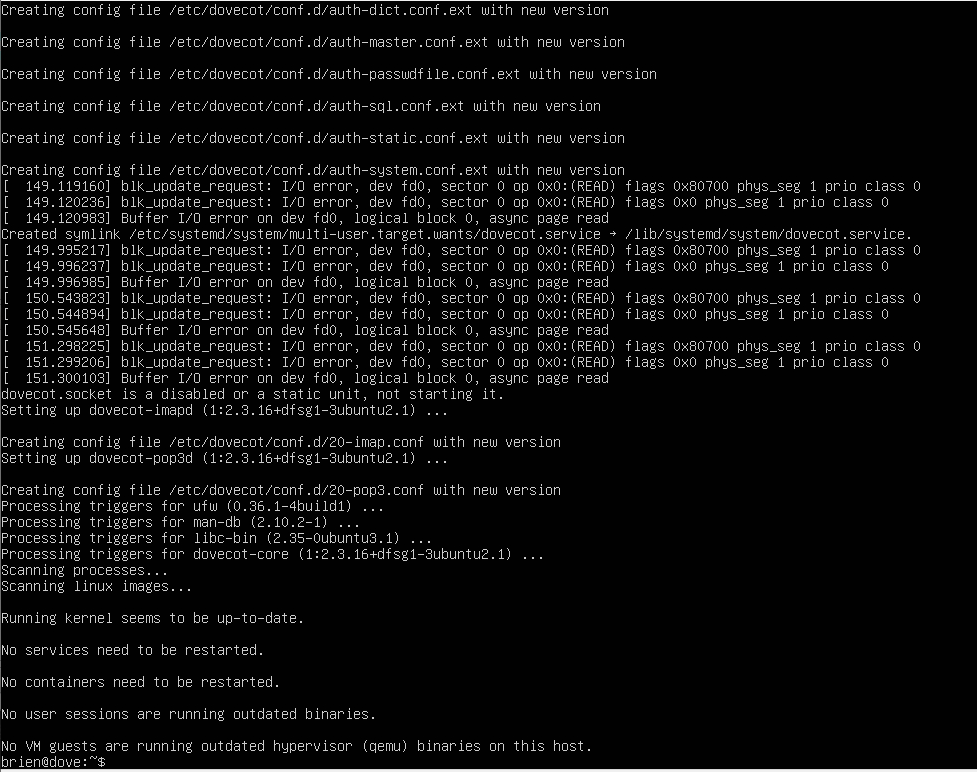
Figure 1. The Dovecot deployment process has been completed.
How to Configure Dovecot for IMAP/POP3 Access on Ubuntu
The Dovecot installation process automatically implements a default configuration that is adequate for getting the mail server up and running. However, there are several different configuration files that you can edit to finetune the Dovecot configuration.
Dovecot stores its configuration settings in a series of configuration files, each of which use a .conf extension and are stored in the /etc/dovecot/conf.d folder. You can edit these files by using the Nano editor.
Suppose, for example, that you want to set up the mailbox directory. To do so, you would use the Nano editor to open a configuration file named 10-mail.conf, then set the mail location value within the configuration file.
Here is the command:
Sudo nano /etc/dovecot/conf.d/10-mail.conf
You can see what the Nano editor looks like in Figure 2. If your goal is to set a mailbox location, you must modify the mail_location line. (It’s the line that is displayed in white text. All the blue text shown in the figure exists solely for documentation purposes.)
The mail_location will store your users’ email messages, so it is important to choose a secure location with plenty of free space. Many organizations set the mail_location to Maildir. To do so, you would change the mail_location line to:
Mail_location=maildir:~/Maildir
When you have finished making any required changes to the file, you can save the file by pressing Ctrl+O.

Figure 2. This is how you edit the 10-mail.conf file using the Nano editor.
Once the mail location has been configured, it’s a good idea to check out some of the available security settings. For example, you should consider whether you want to allow plain text authentication. While disabling plain text authentication can make your mail server more secure, some mail clients require plain text authentication to be enabled.
You can find the settings related to plain text authentication in the 10-auth.conf file. This file contains a line (which is commented out by default) that reads:
disable_plaintext_auth=Yes
You can enable plain text authentication by setting this line to No, but you should only do so if SSL is enabled.
You can access the server’s SSL configuration in the 10-ssl.conf file. The use of SSL is enabled by default through a line that simply says ssl=yes. Initially, SSL is configured to use a self-signed certificate, but you should ideally provide your own certificate. You can do this by locating the ssl_cert= line, then replacing the default value of with the name and location of your certificate’s PEM file. There is also an ssl_key= setting within the configuration file that you can use to provide your own SSL key.
How To Install Optional Modules
As previously noted, Dovecot is extensible through modules. You can install a module by using the sudo apt install command, followed by the name of the module you wish to install.
For example, if you want to install the Dovecot antispam module, you would use this command:
Sudo apt install dovecot-antispam
Figure 3 shows what the antispam module installation process looks like.

Figure 3. This is how you install the Dovecot antispam module.
You will notice that this command resembles the command that was initially used to install Dovecot, but instead of installing dovecot-pop3d and dovecot-imapd, we are installing dovecot-antispam. A similar syntax is used to install other modules.
Dovecot is simple to install and configure. If you need additional help, read the comment portion of the Dovecot configuration files, as this portion contains detailed information related to configuring Dovecot.

